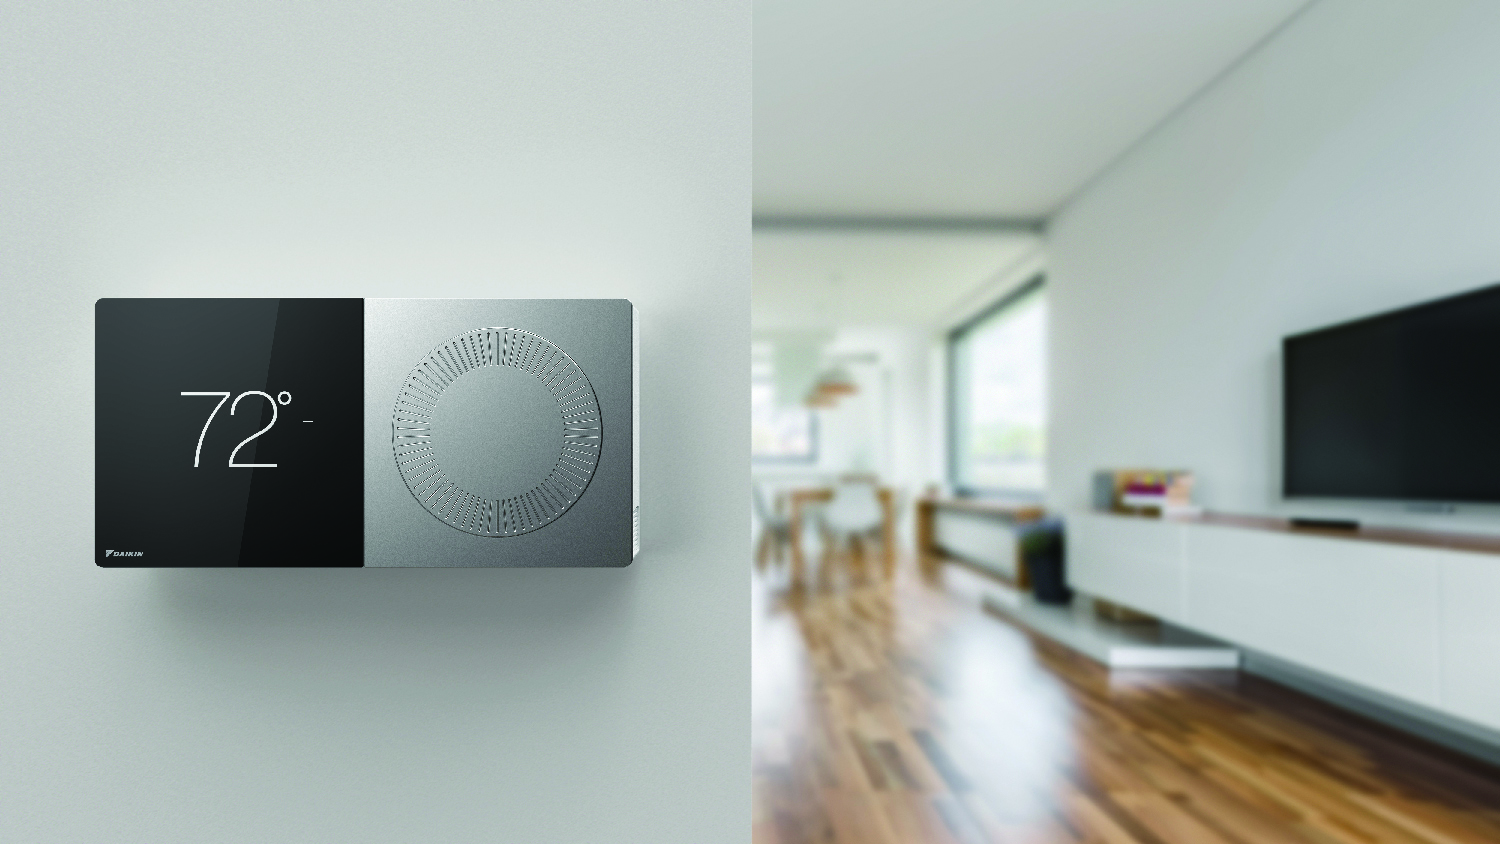
Installing a smart thermostat is a great way to save energy and reduce your carbon footprint. Many are designed to be a do-it-yourself installation project. You should make sure the thermostat you’re planning to buy is compatible with your heating and cooling system.
Turn Off Your HVAC System
Turn off your HVAC system at the breaker panel. It may require flipping multiple breakers. The breaker panel should be labeled.
Remove the Faceplate
You need to first remove the faceplate, which should easily pop off. If it doesn’t, check for hidden screws. Use stickers to label the wires before you disconnect them.
Remove the Backplate
You may need to back out screws to remove the wires. Sometimes there are small tabs you press to release them. The backplate will have screws attaching it to the wall you need to remove.
If you have any trouble installing a smart thermostat in Spokane, WA, the team at NORCO Heating & Air Conditioning can help. We’ve been helping people in the area since 1955.
Install the New Backplate
Hold the new backplate to the wall and mark where the screws go on the wall using a pencil. Pull all the wires through the backplate before you fasten it to the wall. Once it’s screwed onto the wall, you can reconnect the wires.
Install the New Faceplate
The new faceplate should easily snap onto the backplate. If it doesn’t snap on, make sure there aren’t any wires in the way.
Complete the Installation
You can now restore power to your HVAC system at the breaker panel. The smart thermostat should boot up, just like your smartphone does. Connect it to your Wi-Fi system and install its companion app.
NORCO Heating & Air Conditioning replaces, repairs, and maintains furnaces, air conditioners, packaged systems, heat pumps, and geothermal systems. We also perform electrical work and can improve your home’s indoor air quality. Learn more about how we can help you by getting in contact with us today.
